Home RecipesBreads Pan de Coco (Filipino Coconut Bread)

Pan de Coco (Filipino Coconut Bread)

0 1 minutes read
A+A-
Reset

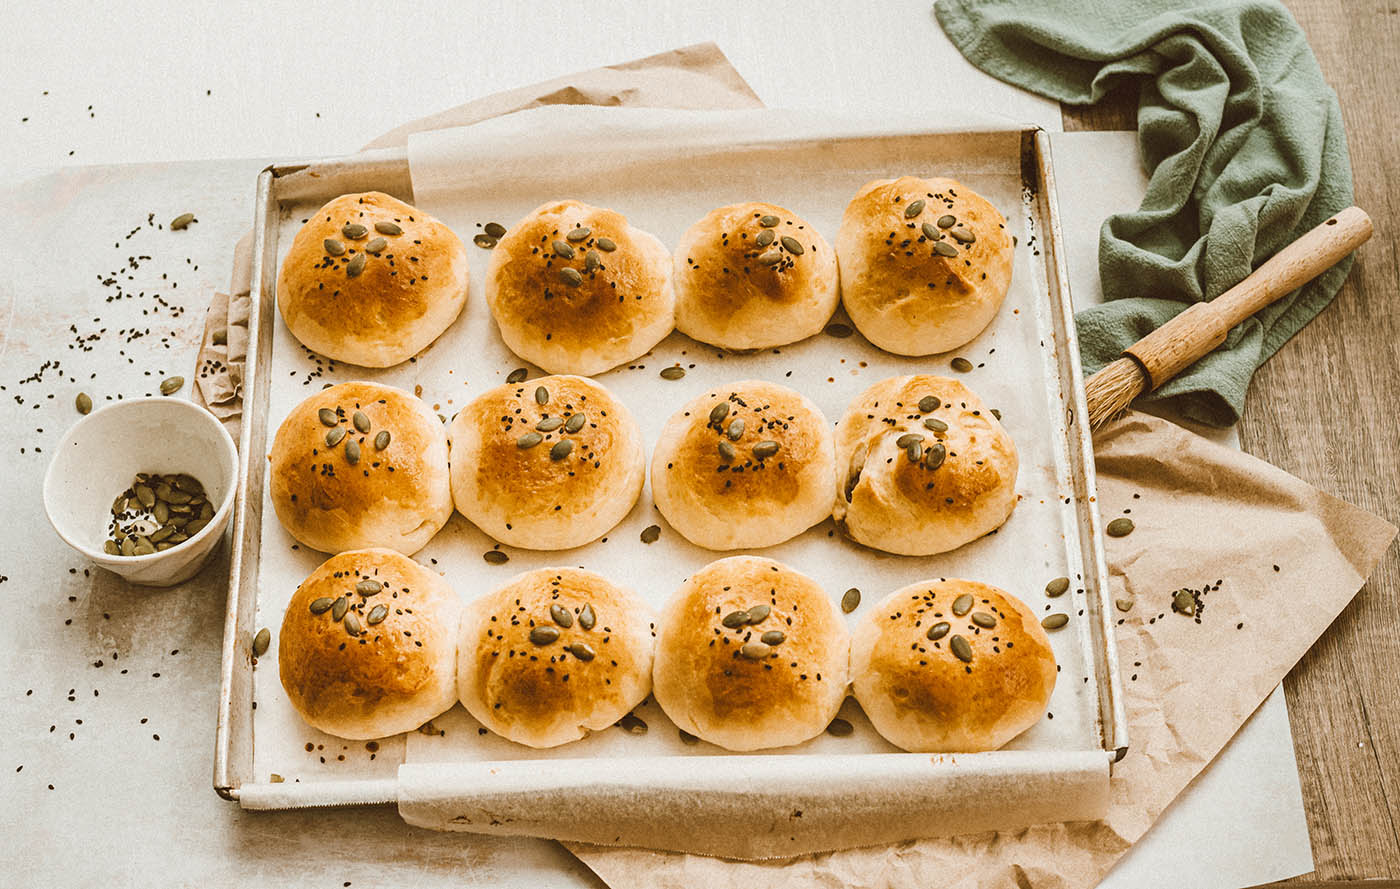
Pan de Coco, much like many other Filipino breads, draws its influence from the Spanish colonial period. Its name literally translates to coconut bread, and that’s for a good reason—the bread is stuffed with a sweetened coconut filling.

Related Blog Posts:

Pan de Coco, Nostalgia in Every Bite

I’ve been eager to bake Pan de Coco ever since starting the Panadera series. This bread holds a special place in my heart. Growing up, visits to my grandma’s house always included a trip to the sari-sari store across the narrow footpath, where we’d grab a handful of pan de coco.

Frequently Asked Questions

Can I use desiccated coconut?

Absolutely! You can substitute desiccated coconut without any issues. Just keep in mind that dry coconut absorbs more liquid than fresh, so you’ll want to double the milk and sugar to keep the balance right.

Can I skip using tangzhong?

Yes, you can skip it. Just add the tangzhong ingredients back into the dough mixture, and you’re good to go.

Do I have to use toppings?

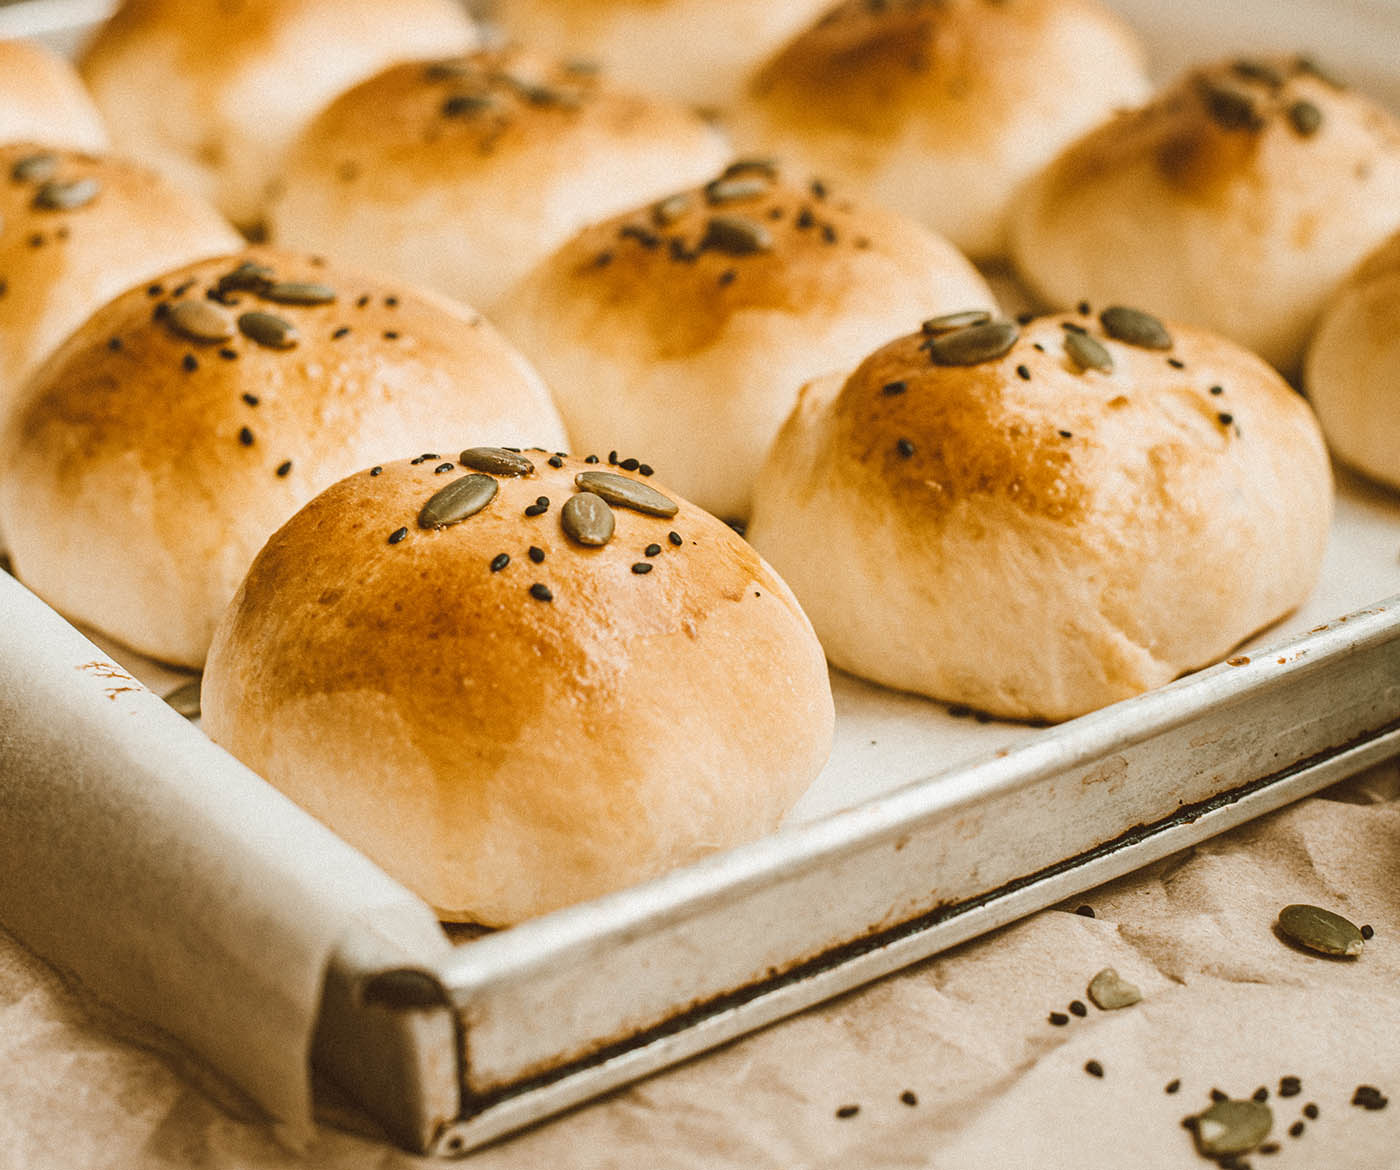
I used pumpkin seeds and toasted sesame seeds as toppings, but they’re totally optional. I added them for a bit of extra texture, but feel free to skip them if you prefer.

Tags:

Pan de Coco (Filipino Coconut Bread)

Pan de Coco earns its name from the coconut and brown sugar filling tucked inside.
Prep 30 minutes
Rest 2 hours
Cook 25 minutes
Total 2 hours 55 minutes
Servings 12

Ingredients
  

For the Tangzhong:

  • 2 tbsps bread flour
  • 120 ml milk, (1/2 cup)

For the Dough:

  • 360 grams bread flour, (3 cups)
  • 2 tsps instant yeast
  • 1 tsp salt
  • 73 grams sugar, (1/3 cup)
  • 120 ml milk, (1/2 cup)
  • 1 egg, large
  • 57 grams unsalted butter, softened, (1/4 cup)

For the Filling:

  • 110 grams grated coconut, (1 cup)
  • 120 ml milk, (1/2 cup)
  • 110 grams brown sugar, (1/2 cup)
  • 28 grams butter, (1/8 cup)
  • 1/2 tsp vanilla

Instructions
 

For the Tangzhong:

  • In a small saucepan, add milk to the flour and mix well to combine.
  • Cook over low heat, stirring constantly to avoid lumps, until a thick paste is formed.
  • Remove from heat and set aside to cool.

For the Dough:

  • In a bowl, combine flour, yeast, salt, and sugar.
  • Add the tangzhong, milk, and egg to the dry ingredients.
  • Knead until a shaggy dough is formed, about 5 minutes if using a stand mixer on low speed.
  • Cover the bowl and let the dough rest for 15 minutes.
  • After the initial resting, add the butter gradually while kneading slowly. Knead the dough for 15 minutes or until the dough is soft and elastic.
  • Form the dough into a ball and transfer it into an oiled bowl. Cover and let it rest for 1-2 hours or until the dough has doubled in size.

For the Filling:

  • Meanwhile, while the dough is resting, combine all the filling ingredients in a small pan.
  • Cook over medium heat until the coconut has absorbed all the liquid.
  • Remove from head and set aside to cool.

Shaping the buns:

  • Preheat the oven to 180C/350F.
  • Transfer the dough onto a floured surface. Punch down to slightly deflate the dough.
  • Divide the dough into 12 pieces.
  • Flatten each piece before spooning a tablespoonful of filling onto the middle of the dough.
  • Pinch the corners of the dough to seal the filling, rolling it into a ball before transferring to a prepared baking sheet. Do the same for the rest. Cover and let it rest for 15 minutes.
  • Mix the egg and the milk for the egg wash. Lightly brush the tops of the buns with the wash. Sprinkle any topping afterwards (optional).
  • Bake for 20-25 minutes or until the buns are golden brown.

Notes

  • If you're using active dry yeast, remember to activate it first. Warm the milk until it's lukewarm (not hot, as that can kill the yeast), then stir in the sugar. Add the yeast and let it sit for 5-10 minutes before mixing it with the other dry ingredients.
  • For toppings, I used pumpkin seeds and toasted sesame seeds, but these are optional—I just added them for a bit of extra texture.

Leave a Comment

About Us

A Bee In My Bonnet is a personal blog where I write about anything that piques my interest – mainly cooking, reading, and growing roses. 

Pages

©2024 A Bee In My Bonnet. All Right Reserved.